Launching a new B2B SaaS product without a clear roadmap is a gamble most founders can’t afford. An MVP scoping checklist gives you the discipline to focus on what truly moves the needle, cut waste, and prove value before you invest heavy resources. In this guide we walk through seven concrete steps that turn a vague idea into a testable, quote‑ready MVP, and we show how to keep the momentum going after launch.
Why a Structured MVP Scoping Checklist Is Critical for Early Success
Early‑stage SaaS teams operate under tight budgets and relentless market pressure. A structured MVP scoping checklist forces you to articulate the problem, define success, and prioritize ruthlessly. Without it, scope creep silently inflates timelines and erodes the very hypothesis you set out to test. The checklist also creates a shared language between founders, product leaders, and external agencies, reducing miscommunication and keeping estimates realistic. Moreover, a documented scope becomes a reference point for post‑launch metrics, making it easier to iterate or pivot based on real data rather than gut feeling. In short, the checklist is the safety net that lets you move fast without falling into the classic “feature bloat” trap.
Step 1 – Define the Core Problem You’re Solving
Everything starts with a problem statement that is both specific and measurable. Ask yourself: what pain point does your target B2B customer experience today, and why does it matter to their revenue or operations? Avoid generic phrasing like “improve productivity.” Instead, quantify the impact—e.g., “reduce manual invoice processing time from 30 minutes to under 5 minutes per transaction.” This clarity guides every later decision and ensures that every feature you build can be traced back to a real business need. Document the problem in a single sentence, then expand with a brief “why now” paragraph that captures market dynamics, regulatory changes, or technology trends that make your solution timely.
Step 2 – Identify the Single Success Metric That Matters
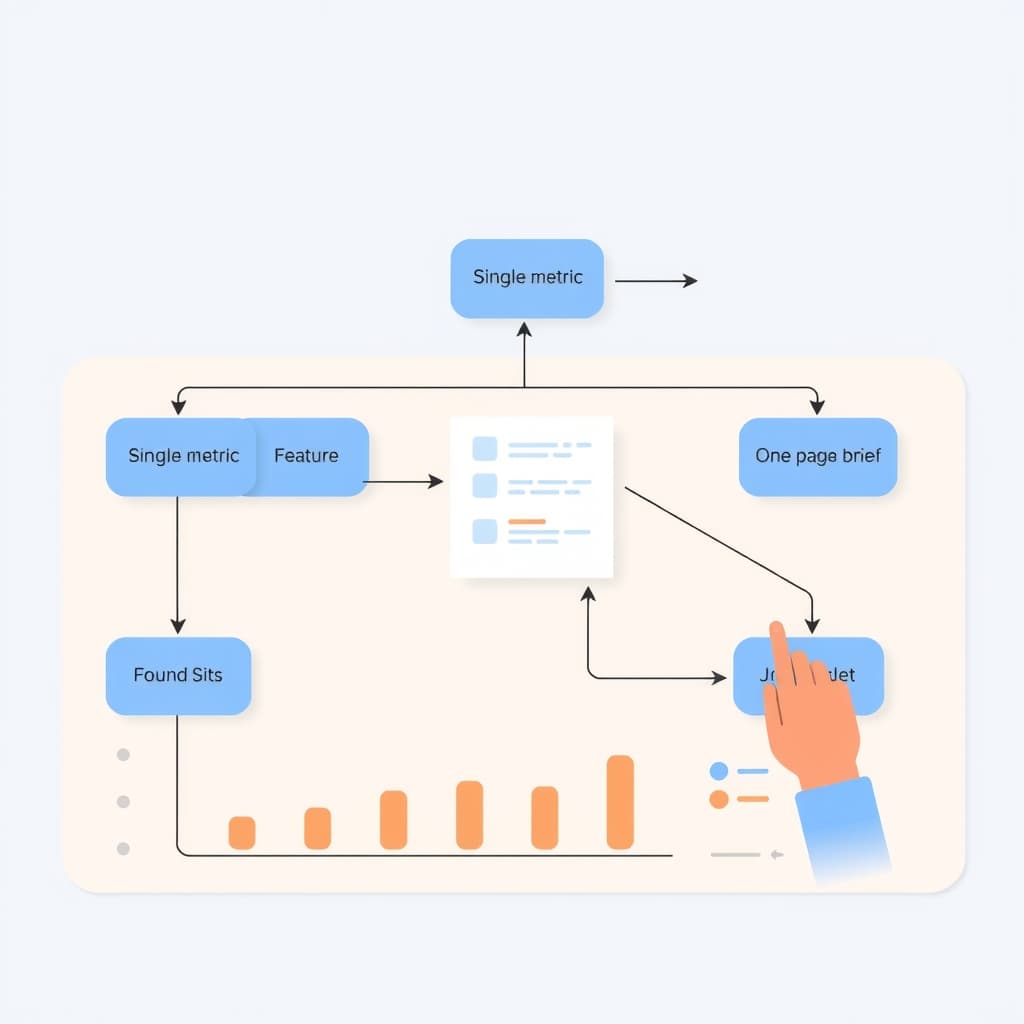
Choosing one north‑star metric forces focus. For a B2B SaaS MVP, typical candidates include activation rate, time‑to‑value, or churn‑risk reduction. Pick the metric that directly reflects the core problem you defined. If you’re tackling invoice processing, the metric might be “average processing time per invoice.” Keep it simple, measurable, and tied to a business outcome. Document the baseline (current state) and the target you aim to achieve within the MVP window. This metric will become the yardstick for every feature decision, experiment, and post‑launch evaluation.
Step 3 – Map Must‑Have Features Against the Success Metric
List every feature you imagine and then score it against its contribution to the success metric. Use a three‑column table (Feature, Direct Impact, Effort Estimate) to visualize trade‑offs. Features that have a high impact but low effort rise to the top—these are your MVP must‑haves. Anything that only marginally improves the metric or requires disproportionate effort should be shelved for later phases. This mapping also helps external agencies understand where to focus their engineering effort, making quoting more accurate and reducing scope disputes later.
Step 4 – Slice the MVP Into Deliverable Increments
Even a minimal MVP benefits from incremental delivery. Break the must‑have feature set into 2‑week sprints or “chunks” that each produce a usable piece of the product. For example, Sprint 1 could deliver the data import pipeline, Sprint 2 the validation engine, and Sprint 3 the reporting dashboard. This approach gives you early feedback loops, lets you adjust scope based on real‑world usage, and provides tangible milestones for stakeholders. It also aligns with agile development practices that many agencies already follow, smoothing the handoff.
Step 5 – Validate Assumptions with Low‑Cost Experiments
Before you write a line of code, test the riskiest assumptions with cheap experiments. Use landing pages, mockups, or manual workflows to gauge interest and willingness to pay. For instance, a one‑page prototype linked to a “request demo” form can validate demand for your invoice automation feature without a single backend integration. Capture the results against your success metric—if the conversion rate meets your pre‑defined threshold, you have evidence to proceed. For a deeper dive on experiment design, see our AI Feature Evaluation Checklist: Validate Before Launch.
Step 6 – Write a One‑Page Brief That Agencies Can Quote From
A concise brief translates the checklist into actionable work for development partners. Include the problem statement, success metric, prioritized feature list, sprint breakdown, and any non‑functional requirements (security, compliance, performance). Keep it to one page of bullet points and short paragraphs—agencies appreciate brevity and can quickly generate accurate estimates. Attach any existing design assets or user flows, and be explicit about acceptance criteria for each increment. This brief becomes the foundation for the services we provide, ensuring that the final quote aligns with your strategic goals.
Step 7 – Set a Realistic Timeline and Budget Guardrails
Combine the sprint plan with agency estimates to produce a high‑level timeline. Add a buffer of 10‑15 % for unforeseen issues, especially around integrations or compliance work. On the budget side, set a hard cap that reflects the maximum you’re willing to spend before you see the success metric moving in the right direction. Communicate both timeline and budget guardrails clearly in the brief; this prevents scope creep and keeps the project accountable. Remember, the goal is to prove the hypothesis, not to deliver a polished final product.
Conclusion – Turn the Checklist Into an Ongoing Roadmap & CTA
Once the MVP is live, treat the MVP scoping checklist as a living document. Re‑evaluate the success metric, add new features that now have proven impact, and iterate using the same disciplined approach. This continuity helps you transition from validation to scaling without losing focus. Need a partner to execute on your checklist, keep the product reliable post‑launch, or design the next set of features? Explore our post‑launch support services or book a strategy call today. Schedule a conversation and let SiteFusion turn your vision into a revenue‑generating reality.