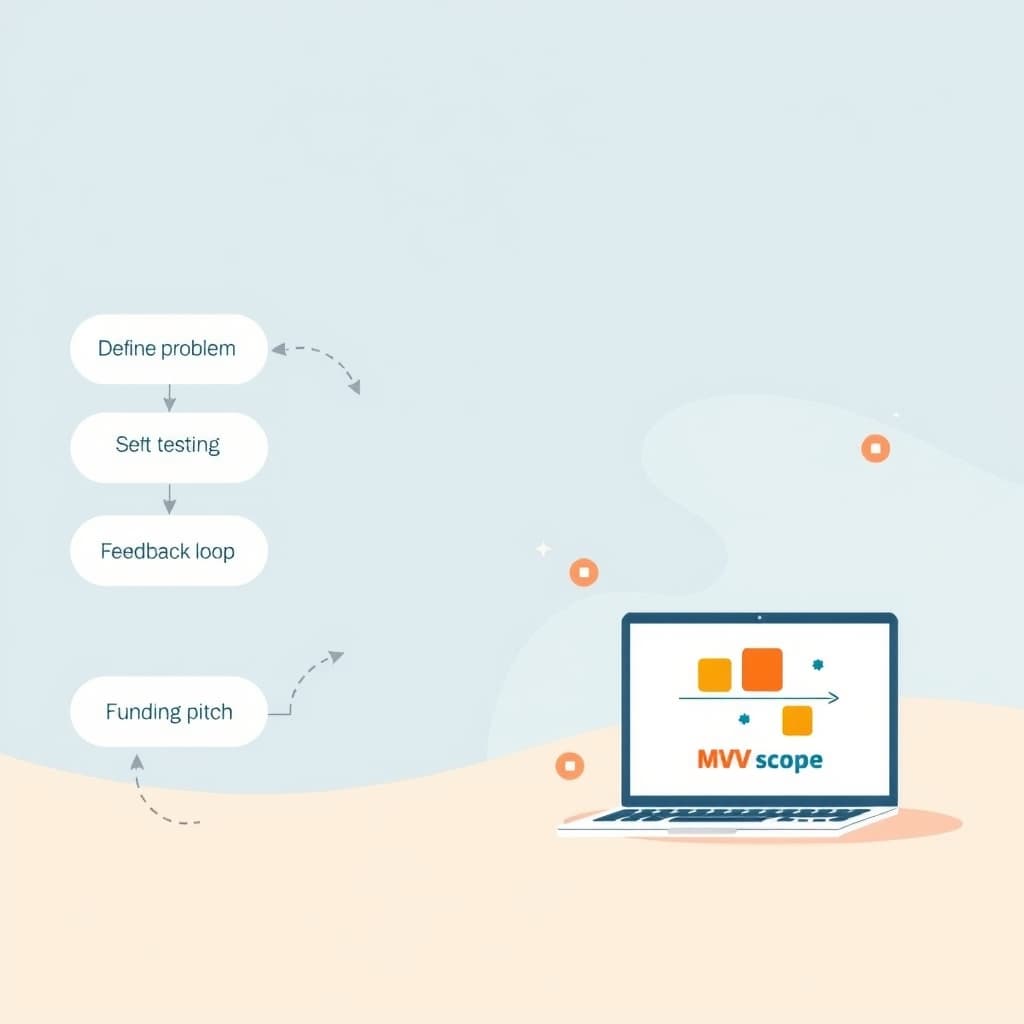
Before you pour engineering hours into a product that may never find market fit, grab a solid MVP scoping checklist. A disciplined checklist turns vague ideas into testable hypotheses, aligns stakeholders, and gives vendors a clear brief to quote from. In this post we walk you through seven concrete steps that let founders and product leaders validate an MVP with minimal waste.
Why a Structured MVP Scoping Checklist Beats Guesswork
Guesswork may feel fast, but it costs time, money, and credibility. A structured MVP scoping checklist forces you to articulate the problem, define success, and prioritize ruthlessly before any line of code is written. This discipline surfaces hidden dependencies, clarifies the value proposition, and creates a shared language between founders, ops, and development partners. When you can hand a one‑page brief to an agency, you get accurate estimates and avoid scope creep. Moreover, a checklist becomes a living artifact you can revisit as market feedback arrives, ensuring the product evolves deliberately rather than reactively.
Step 1: Define the Core Problem You’re Solving
The first line of any MVP scoping checklist is a crystal‑clear problem statement. Ask yourself: who is affected, what pain are they feeling, and why does it matter now? Avoid solution‑first thinking; instead, write a single sentence that captures the unmet need. Validate this statement with at least three potential users or customers to ensure it resonates. When the problem is well‑defined, every downstream decision—feature selection, metric choice, and even branding—aligns with a purpose that stakeholders can rally around.
Step 2: Identify the Single Success Metric That Matters
Too many MVPs chase vanity metrics. Pinpoint one North Star metric that directly reflects problem resolution—e.g., “time to complete a field service ticket drops by 30%” or “monthly active users who submit a support request falls below 5.” This metric becomes the litmus test for go/no‑go decisions and guides every experiment. Document the baseline, the target lift, and the measurement window. When the metric is quantifiable and tied to business impact, you can objectively declare the MVP a win or a loss.
Step 3: Prioritize Features Using the RICE Framework
RICE (Reach, Impact, Confidence, Effort) translates intuition into a sortable list. For each candidate feature, estimate how many users it reaches, the magnitude of its impact on the success metric, your confidence in those estimates, and the effort in person‑weeks. Multiply the three numerator values and divide by effort to get a score. Rank features by score and keep only the top‑scoring items that directly move the needle on your success metric. This step trims the feature set to a truly minimal set, keeping development lean and feedback loops tight.
Step 4: Draft a One‑Page MVP Brief That Agencies Can Quote From
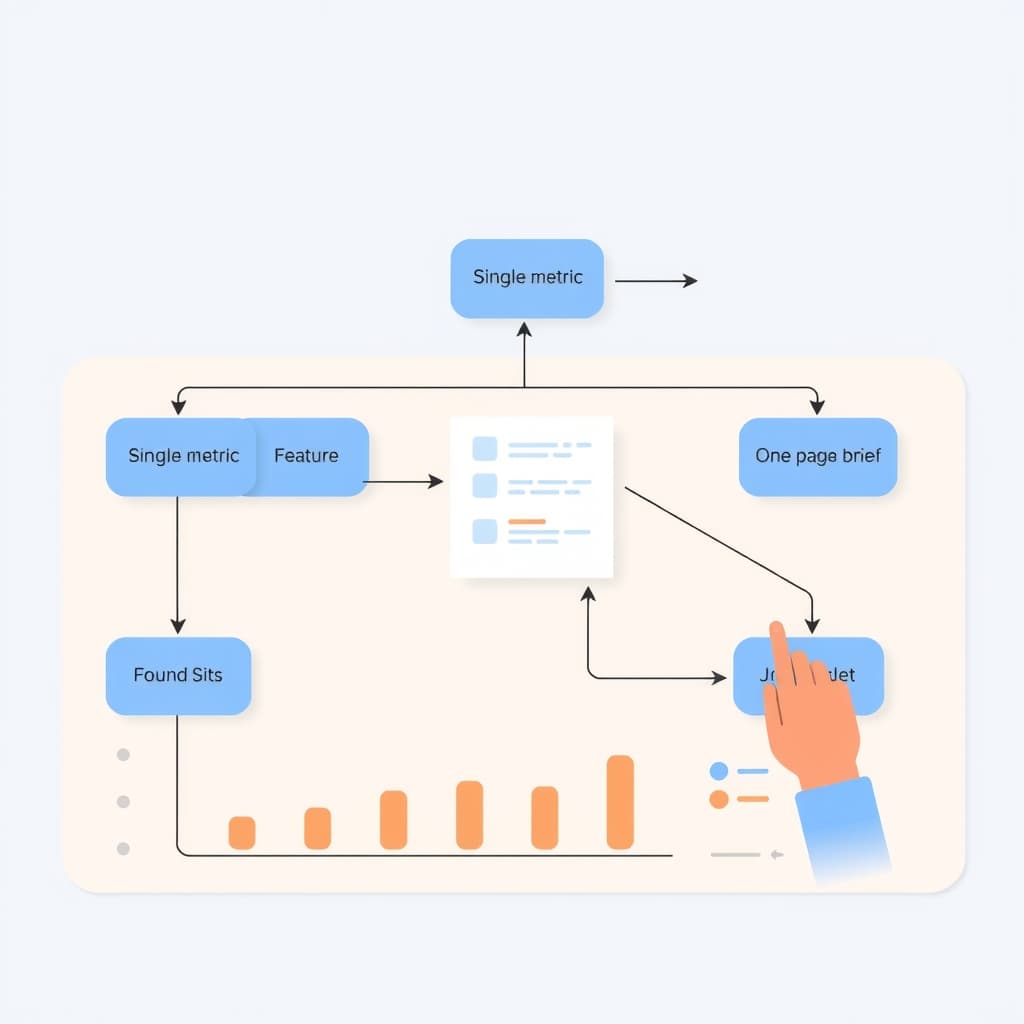
Condense the problem, success metric, prioritized features, and acceptance criteria onto a single A4 page. Include user personas, high‑level user flows, and any non‑functional requirements such as security or compliance (e.g., SOC 2). A concise brief eliminates ambiguity and speeds up vendor quoting. For a deeper look at post‑launch considerations, see our Post‑Launch Release Management Checklist for Small Teams. When agencies have a clear brief, you avoid hidden costs and can compare proposals on an apples‑to‑apples basis.
Step 5: Validate Assumptions with Low‑Cost Experiments
Before any code is written, test the riskiest assumptions. Use landing pages, clickable mockups, or manual wizard of oz trials to gauge demand and willingness to pay. Track conversion rates against the success metric you defined earlier. If the experiment falls short of a pre‑agreed threshold, pivot or abort before committing development resources. These cheap experiments provide data‑driven confidence and keep the MVP budget in check.
Step 6: Build a Minimal Viable Prototype for Stakeholder Feedback
With validated assumptions, develop a thin prototype—often a static front‑end with mocked APIs or a low‑code MVP. The goal is speed, not perfection. Release the prototype to a closed group of users and collect qualitative feedback alongside the quantitative success metric. Iterate rapidly, fixing only blockers that affect the metric. This prototype serves as a tangible artifact for internal buy‑in and a reference point for the development partner when you move to production.
Step 7: Set Clear Acceptance Criteria and a Go‑No‑Go Decision Gate
At the end of the prototype phase, define explicit acceptance criteria tied to your success metric, performance thresholds, and compliance needs. For example: “Metric improves by ≥20% in 4 weeks,” “Load time <2 seconds for 95% of users,” and “All data handling meets SOC 2 requirements.” Conduct a formal review with stakeholders; if criteria are met, green‑light the full build. If not, document gaps, decide on a revised scope, or close the effort. This decision gate prevents endless polishing and aligns everyone on the next investment.
Conclusion: Turn the Checklist Into a Living Roadmap and Next Steps
The MVP scoping checklist is not a one‑time document; it evolves as you learn. Treat each step as a milestone in a roadmap that feeds into subsequent phases—full‑scale development, post‑launch support, and iterative growth. When you’re ready to hand off the validated MVP to a development partner, our service catalog shows how we turn scoped briefs into production‑grade solutions, from Next.js front‑ends to AI‑driven automation. Need help refining your brief or running the next set of experiments? Book a call with SiteFusion and let us accelerate your path to market.